Complete Guide for Shooting Different Clay Target Sizes (Mini, Midi, and Standard)
Introduction
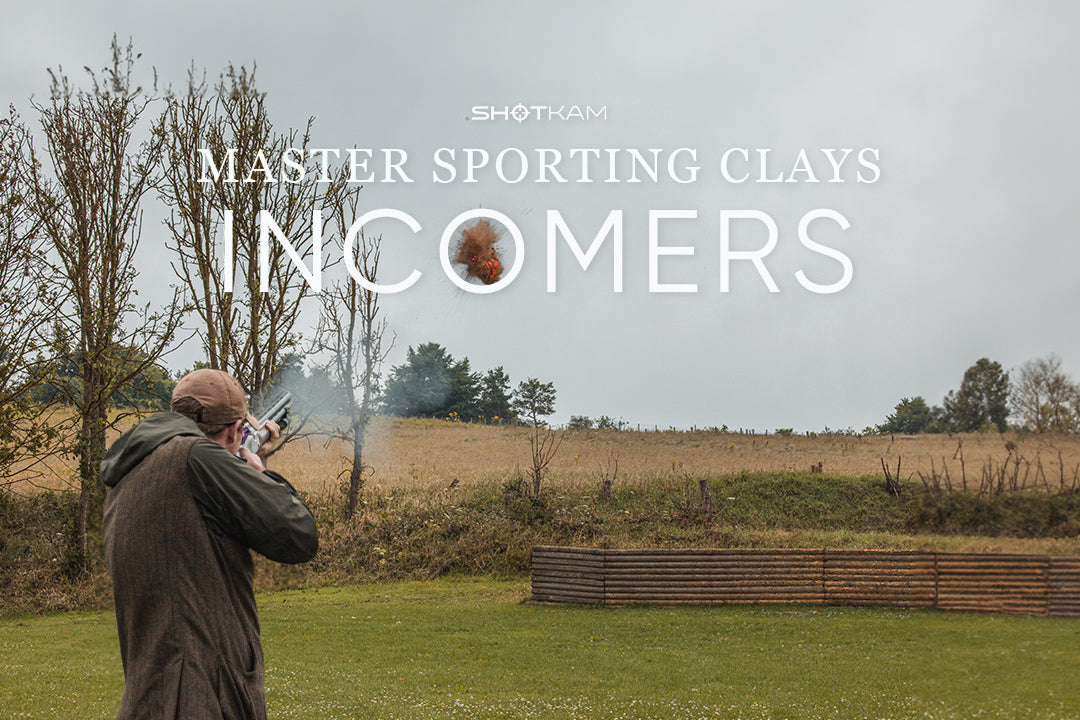
Clay target shooting is an exhilarating sport that demands precision, focus, and skill. At the South Florida Shooting Club, we had the privilege of learning from two esteemed experts: Mick Howell, a World Champion and professional target setter, and Gebben Miles, another World Champion in clay target shooting. In this blog, we'll delve into the valuable insights they shared, focusing on crucial concepts like stance, balance, posture, and how to tackle tricky targets. Get ready to elevate your clay target shooting game to new heights!
Stance and Balance: The Foundation of Success
As Gebben Miles emphasized, a solid stance and balance are fundamental to consistent shooting. Understanding the angles of your targets is key to adjusting your stance accordingly. For standard targets, visualizing the break point in the distance and holding halfway between the machine and the break point allows for a sustained lead method, ensuring you stay in front of the bird and increase your chances of hitting it. Meanwhile, for midi targets that are closer and slower, less lead is required, making it essential to adapt your technique for different target types.
Cracking the Code: Reading the Targets
Mick Howell shed light on the importance of reading the targets before taking your shot. By observing the target boxes and their markings, you can identify the type of clay target, whether it's a standard or midi. This knowledge will help you anticipate the trajectory and speed, enabling you to adjust your approach accordingly. Remember, appearances can be deceiving, so pay close attention to the distance and speed of each target to improve your accuracy.
Mastering Difficult Stations: Dome vs. Belly Targets
At one station, Mick set up a challenging pair of standard targets, one showing the dome and the other showing the belly (black underside). The objective was to make it difficult for the shooter by requiring a quick turn between shots. Gebben demonstrated the correct stance and setup to tackle this pair effectively, making the shooting experience seamless and successful.
Adjusting Your Stance for Different Angles
Another crucial lesson from Gebben was the significance of adapting your stance to shooting angles. For high-angle targets, a narrow stance allows for better backward bending, while for low-angle shots, a narrow stance enables better flexibility to bend over. By applying these adjustments to different angles, you'll improve your consistency and accuracy in breaking shots.

Conclusion
As we wrap up this session, we can't stress enough the importance of stance, balance, and reading targets to elevate your clay target shooting prowess. By following the guidance of World Champions Mick Howell and Gebben Miles, you'll gain invaluable insights into the sport. Embrace the sustained lead method, adjust your stance for different angles, and pay close attention to target characteristics. With continuous practice and dedication, you too can become a proficient clay target shooter, hitting targets with unwavering accuracy and finesse.
You are reading:


