Your order will be shipped within 1 working day. Your order will be shipped within 1 working day. Your order will be shipped within 1 working day.
Quiz
1/3
2/3
3/3
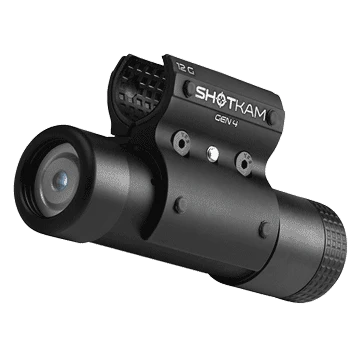
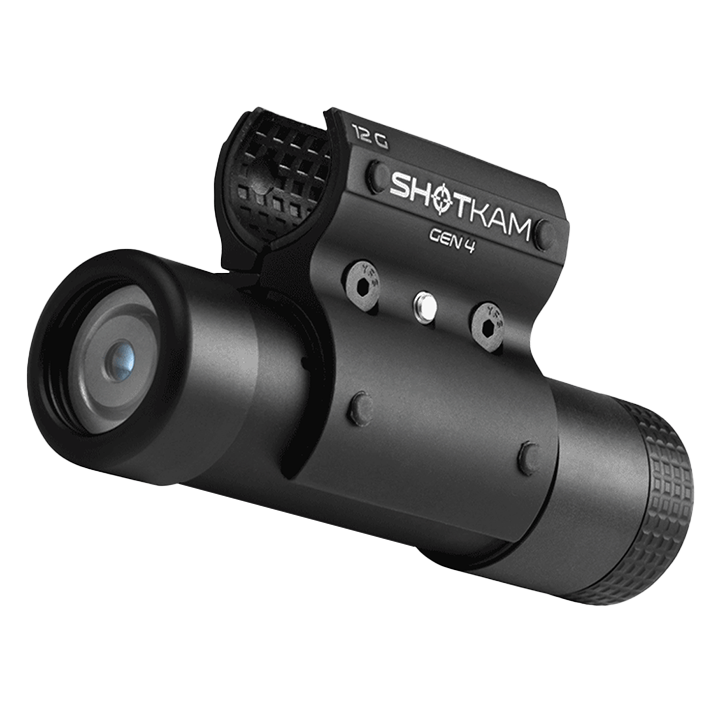
Designed to withstand sub-freezing temperatures and deliver all-day battery power, this model is built for rifles and shotguns, providing reliable performance in extreme conditions.
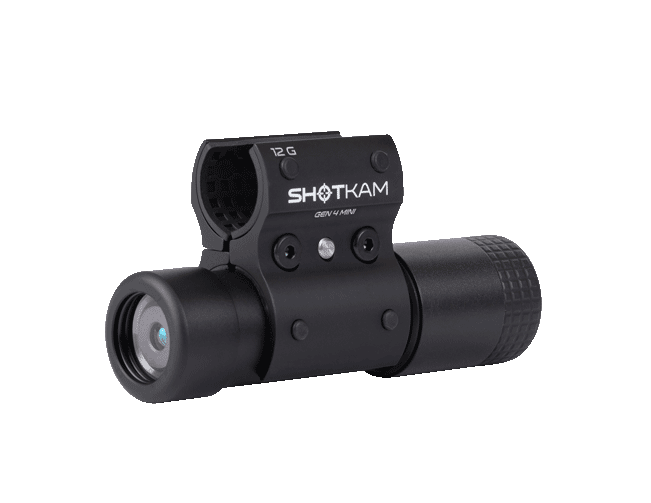
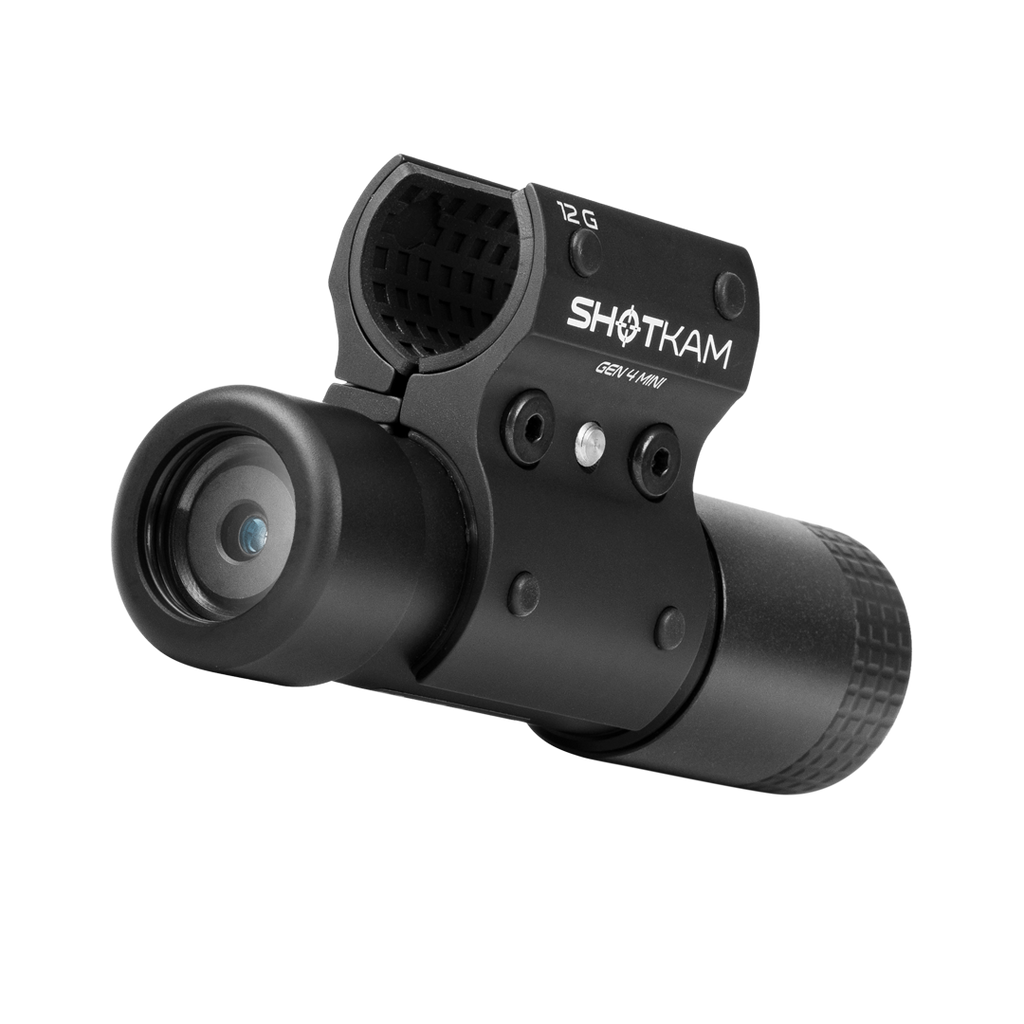
This compact model is 33% lighter—perfect for clay shooters who prioritize gun balance, with the same 4K video performance.
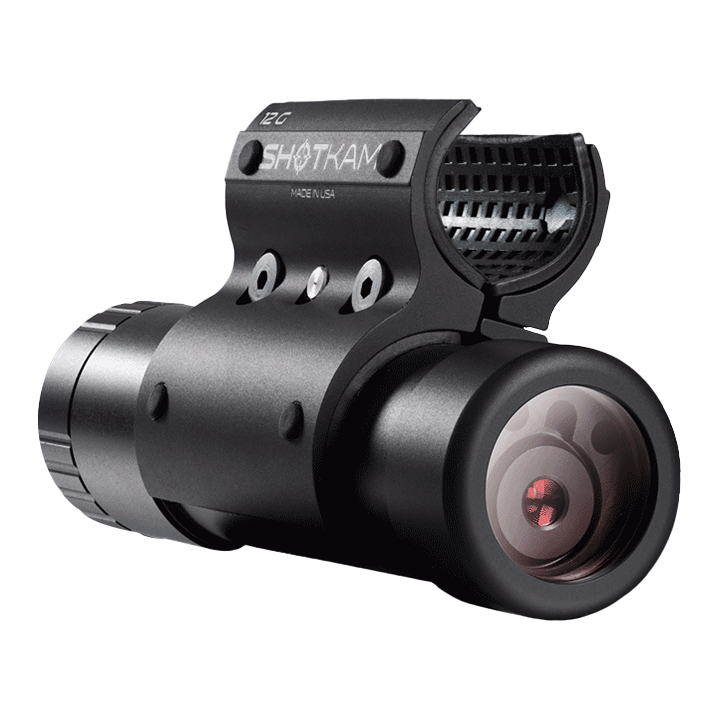
4K Resolution
4K Video • Ultra Compact • 8x Zoom