Guide de tir à la carabine et de chasse avec la ShotKam
Que vous vous entraîniez sur un stand de tir ou que vous vous prépariez pour une partie de chasse, votre ShotKam vous aide à voir chaque détail de vos tirs au ralenti. Elle capture exactement ce qui se passe au moment du départ du coup, y compris votre visée, le recul et le point d’impact, afin que vous puissiez revoir et améliorer votre précision.
Ce guide explique comment fixer la ShotKam sur différents types de carabines, comment configurer l’application ShotKam pour le tir sur cible et pour la chasse, ainsi que quels niveaux de zoom et formats vidéo sont les plus adaptés à chaque situation.

Choisir le bon support de montage
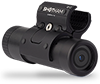
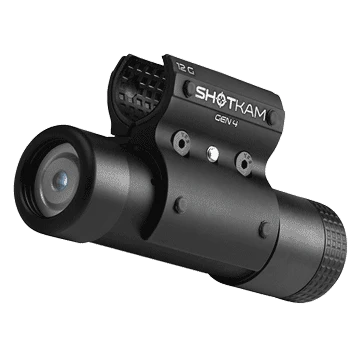
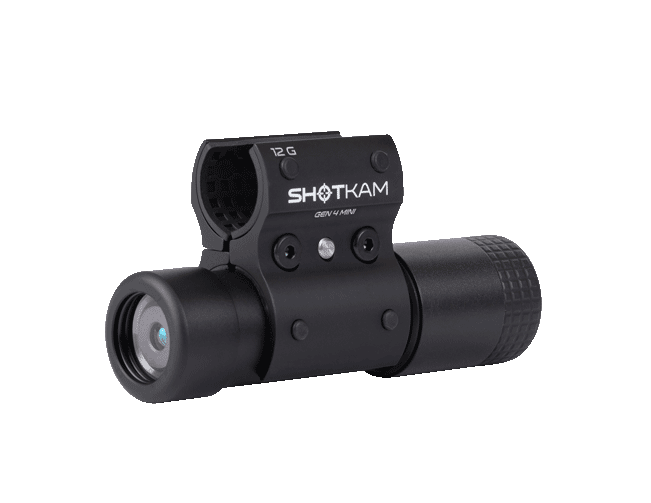
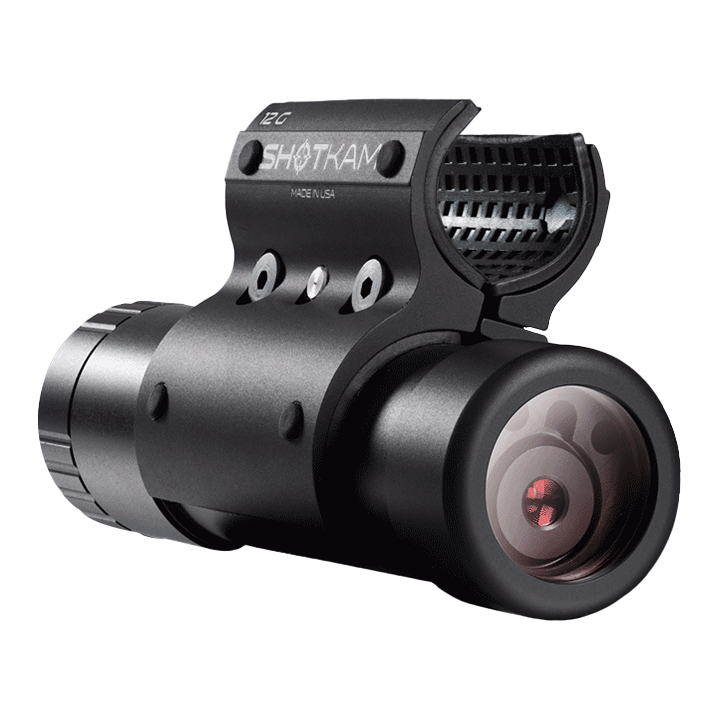
Votre ShotKam peut se fixer soit directement sur le canon, soit sur un rail Picatinny ou Weaver, selon la configuration de votre carabine. Utiliser le bon support maintient la caméra solidement en place et réduit les vibrations pour obtenir une image la plus nette possible.
Option 1 : Montage sur le canon
Si vous utilisez une carabine à verrou traditionnelle sans rail, un support de canon est la meilleure option. Chaque support (aussi appelé support de sous-calibre) est conçu pour s’adapter à un diamètre de canon spécifique sans l’endommager.
Pour plus de détails sur les tailles et la compatibilité, consultez notre Guide de montage sur carabine, et pour les instructions de configuration, visitez notre Guide de montage et de calibrage.
Pour les carabines avec silencieux ou modérateur de son, vous pouvez aussi utiliser le support pour modérateur. Ce support maintient la ShotKam 35 mm sous le canon pour que le silencieux n’apparaisse pas dans la vidéo.

Astuce de pro : évitez de fixer la caméra directement sous le canon si vous utilisez un bipied, et évitez le dessus si vous avez une lunette ou un viseur installé. Pour les carabines à canon court ou avec frein de bouche, placez la ShotKam légèrement plus près de la détente pour réduire l’exposition aux gaz.
Option 2 : Utiliser le support de rail
Si votre carabine est équipée d’un rail Picatinny ou Weaver, le support de rail offre la meilleure stabilité. Il est recommandé pour les plateformes de type AR, les carabines semi-automatiques et les systèmes de châssis de précision.
Une fixation directement sur le rail réduit les vibrations sur les carabines à canon flottant. Positionnez la ShotKam légèrement sur le côté du canon avec le port USB vers le haut pour garder l’image à niveau et protéger le port de la poussière et des débris.

Configuration de votre ShotKam
Une fois la caméra montée, ouvrez l’application ShotKam (disponible pour iOS et Android) pour ajuster les paramètres selon votre utilisation. L’appli vous permet de sélectionner le type d’arme, le type de cible, le niveau de zoom et la résolution.
Pour le tir à la carabine au stand
Si vous tirez au stand, commencez par confirmer le bon type d’arme dans l’application :
-
Allumez votre ShotKam et connectez-vous au réseau Wi-Fi de la ShotKam.
-
Ouvrez l’application ShotKam et allez dans Paramètres.
-
Sélectionnez Type d’arme (Shooting Device).
-
Choisissez « Rifle Bolt/Single » pour les carabines à verrou ou à un coup, ou
-
« Rifle Semi-Auto » pour les carabines semi-automatiques.
-
Ensuite, retournez dans Paramètres et choisissez Type de cible > Cibles en papier (« Paper Targets »).
Le zoom et le format vidéo par défaut pour le réglage Cibles en papier sont 1080p × 120 fps | Zoom 4×, ce qui est conçu pour les cibles statiques et offre une excellente visibilité de l’impact lors de la relecture.
Pour la chasse à la carabine (mode Gibier au sol)
Avant de partir sur le terrain, prenez un moment pour configurer votre ShotKam dans l’application selon vos conditions de chasse. Des réglages appropriés vous donneront des séquences claires et vraiment utiles pour analyser vos tirs plus tard.
Étape 1 : Connexion et réglage des paramètres
-
Allumez votre ShotKam et connectez-vous au réseau Wi-Fi de la ShotKam.
-
Ouvrez l’application ShotKam et allez dans Paramètres.
-
Sélectionnez Type de cible > Gibier au sol (« Ground Game »). Ce mode est conçu pour la chasse au gros gibier comme le chevreuil, le sanglier ou la dinde sauvage.
-
Sélectionnez Type d’arme (Shooting Device).
-
« Rifle Bolt/Single » pour les actions manuelles comme les carabines à verrou ou à levier, ou
-
« Rifle Semi-Auto » pour les carabines qui réarment automatiquement.
-
Si vous voulez que la caméra reste prête à enregistrer instantanément, réglez la sensibilité de réveil (Wake-Up Sensitivity) sur Sleep Disabled (veille désactivée). Gardez en tête que ce réglage consomme davantage de batterie.
Étape 2 : Choisir votre zoom et votre format vidéo
Différentes distances nécessitent différents niveaux de zoom et de résolution. Bien choisir ces réglages vous aide à capturer à la fois la netteté de l’image et le détail du mouvement au ralenti :
-
10–40 mètres (petit gibier comme la dinde sauvage) : 2.7K × 120 fps | Zoom 3×
-
40–70 mètres (gros gibier comme le chevreuil ou le sanglier) : 1080p × 120 fps | Zoom 4×
-
70+ mètres (tirs à longue distance) : 720p × 120 fps | Zoom 6×
Ces réglages sont optimisés pour offrir la meilleure qualité vidéo à chaque distance de tir. Vous pouvez trouver d’autres options de zoom et de format vidéo dans les paramètres avancés de l’application ShotKam (en savoir plus dans notre centre d’aide).
Pour voir la ShotKam en action lors de véritables sorties de chasse, consultez nos vidéos de chasse à la carabine ci-dessous.
Conseils sur le terrain
-
Serrez toujours fermement le capuchon arrière pour protéger le port USB avant de tirer en extérieur.
-
Avec la veille désactivée (« Sleep Disabled »), la caméra utilise davantage de batterie. Chargez-la complètement avant la sortie et apportez une batterie externe pour les journées plus longues.
-
La caméra doit être allumée pendant au moins 15 secondes pour enregistrer l’intégralité de votre tir.
-
Après votre premier tir, relisez la vidéo pour confirmer que le réticule est aligné avec votre point de visée.
Revoir vos séquences
Après votre séance de tir, connectez votre ShotKam à votre téléphone ou à votre tablette pour revoir les séquences au ralenti. Dans l’application, vous pouvez parcourir vos clips par date et heure, puis utiliser la barre de défilement pour avancer image par image et analyser chaque moment autour du tir. Visionner vos tirs au ralenti est particulièrement utile pour régler votre carabine ou tester de nouvelles munitions.
Pour les chasseurs, la relecture permet aussi de voir comment votre carabine se comporte dans des conditions réelles et comment le gibier réagit à l’impact, ce qui vous aide à affiner le placement de vos tirs lors des prochaines sorties.
Conclusion
Que vous travailliez votre précision au stand ou que vous partiez à la chasse, la ShotKam vous aide à comprendre chaque tir en détail. Choisissez le support adapté à votre carabine, configurez l’application selon votre environnement de tir et sélectionnez le niveau de zoom approprié à votre distance.
Une fois la configuration terminée, vous obtiendrez des séquences claires et stables qui vous permettront d’apprendre de chaque tir et de revivre chaque moment en détail.
Vous lisez :